

👥 Join test
Test the server with the co-op session checklist, world settings and troubleshooting steps before inviting the whole group.
Create or start the server, confirm the world appears to the intended account, and record the address or invite method without publishing credentials. Test one client at a time, then test save persistence after both players leave. If a join fails, remove optional mods and compare the platform pair before changing ports or firewall rules. A successful setup is a repeatable join and a retained world state, not merely a server process that starts.
Confirm both server type and crossplay state
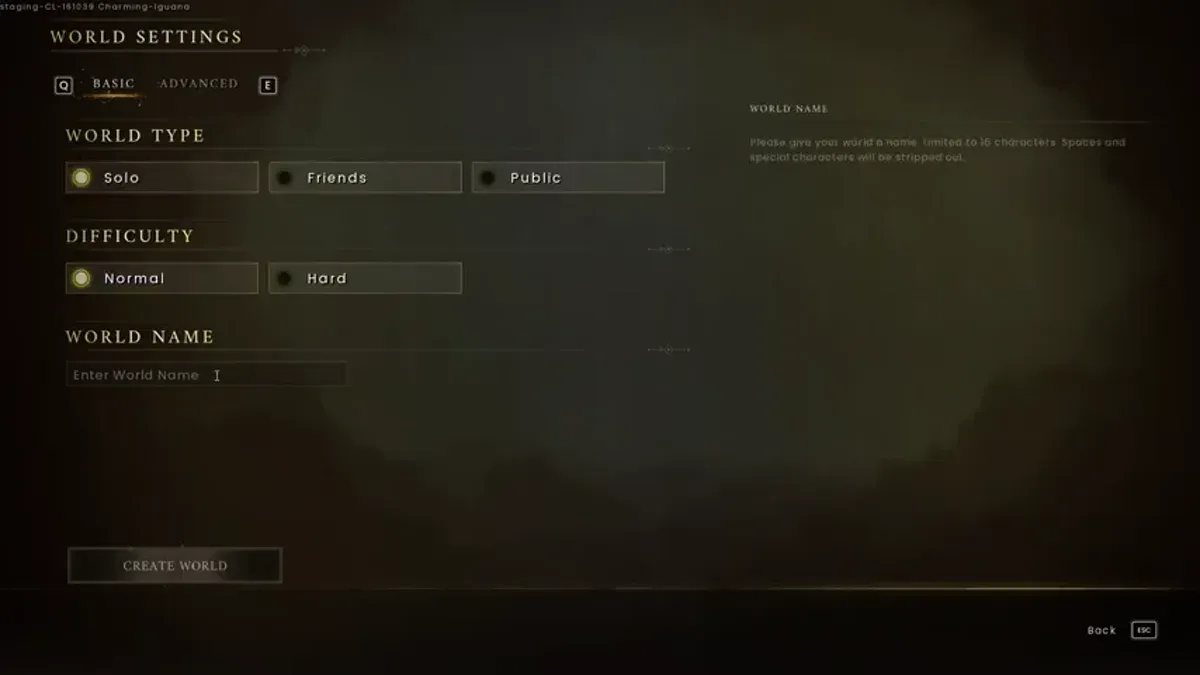
Dedicated servers were added before 1.0 and can use crossplay. Worlds support up to four players and can be solo, friends-only or public. These are separate settings: dedicated hosting affects persistence and availability, while crossplay controls who can join across platforms. See the launch notes for the platform rollout.
Before inviting anyone, record the host, server address or browser entry, world access mode and crossplay toggle. Have each player confirm that the world is visible and that the join path works before committing a long build. If the world is visible but a player cannot join, check platform entitlement and crossplay state first.
Use a pre-session checklist
A dedicated-server session should have an owner, a server or browser path, an access mode, a crossplay decision and a recovery plan. Test the path with one guest before inviting the full group. Confirm that the world appears in the intended browser, that the guest can join, and that a small change persists after leaving and reconnecting.
Keep platform entitlements separate from server availability. A player may own the game but still fail to join because the world is not crossplay-enabled, the access list is closed or the host has not started the server. Capture the exact error and world settings before changing several variables. For a long-running base, keep a backup or administrator recovery path so a host problem does not become a permanent progression loss.
Home-hosted dedicated server facts
The local wiki’s dedicated-server guide documents a concrete self-hosted baseline: use a 64-bit Windows or Linux system, budget 2 GB plus 1 GB per player, and use UDP port 7777 by default (a second server uses 7778). The Steam dedicated-server product uses App ID 4019830; -log -NewConsole exposes startup errors.
For a first test, install the dedicated-server product, start it once with logging, then set the owner ID, server name, default world name and admin password in DedicatedServer.ini. Forward the UDP port through the firewall, router and ISP path. Search the Public worlds tab with the case-sensitive world file name, not only the display name. Back up the .sav file before moving a world or updating, and do not rename it when copying it to the server.
Use the Windows setup reference or Linux setup reference for platform-specific commands. Test the server locally before exposing a port.
The server is ready when
Keep the host, server path, access mode and crossplay state with your server notes, and complete a reconnection test. If a visible server cannot be joined, check entitlement, crossplay and the access list before rebuilding the server or resetting a save.