
⚔️ Match equipment to the region
Compare the equipment level shown for the current loadout with the power level of the area before committing to a difficult route. Community guidance recommends keeping gear at or above the region’s power level. If the comparison is unfavourable, upgrade the weakest slot, bring a safer food and healing reserve, or return after completing a nearby resource loop.
Use a repeatable combat loop
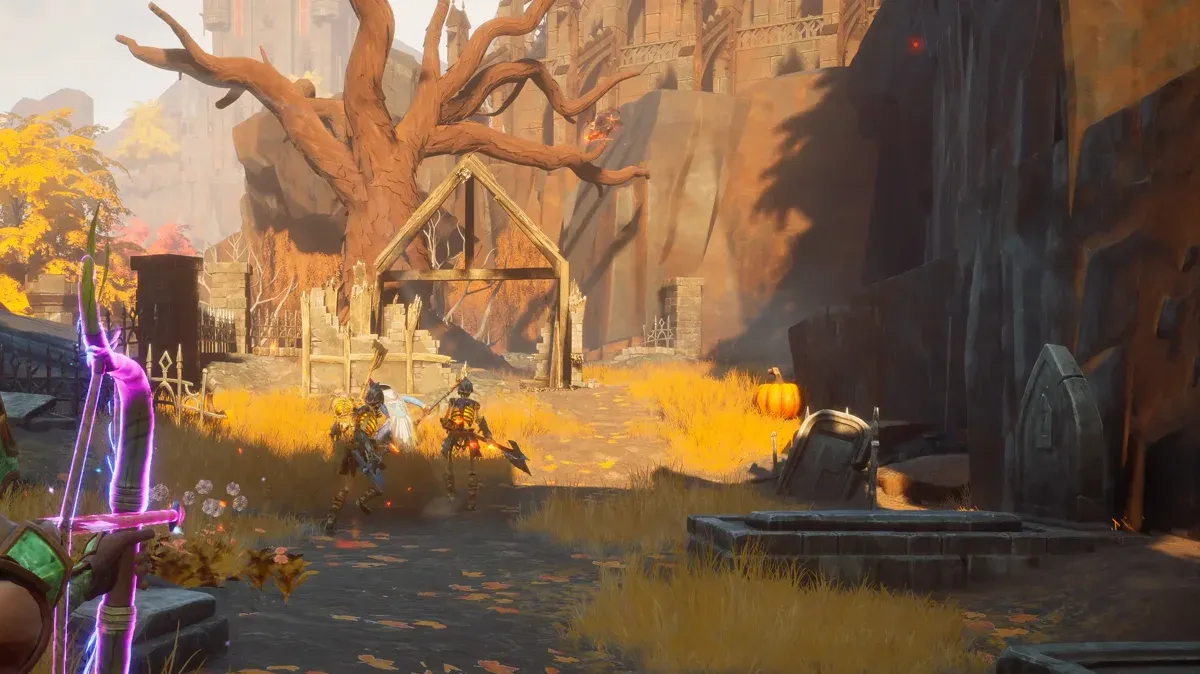
Start an encounter with enough stamina for movement, keep a retreat path open, and spend the first exchange learning the enemy’s range and recovery window. Attack after a committed enemy action, reposition before stamina is empty, then recover outside the hit zone. For ranged or special attacks, use the space created by terrain rather than standing still and trading damage.
Use weapon advice as a starting point
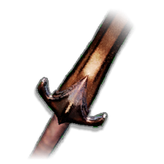
Some players use the Abyssal Whip for stun-oriented play. Treat that as a test plan rather than a ranking: check the current weapon description, try the effect on a low-risk target, and keep it only if the expected stagger or damage window appears in your build.
Completion check
Your combat setup is ready when you know the target’s relevant weakness, meet the area’s gear-level check, defeat one low-risk enemy without exhausting stamina or healing, and still have a retreat route. If any check fails, change one variable at a time—weapon, armour, food or positioning—to reveal the cause.
A weapon-choice answer needs four facts
Before choosing a weapon, check the target region, the enemy’s journal weakness or resistance, your current power and gear level, and available ammo, runes or stamina. Start with a Bronze Sword or another weapon suited to the target, then use the journal entry instead of assuming one weapon is universally best. Test it in an ordinary encounter and compare damage consistency, stamina cost, recovery window and your ability to retreat.
If the problem is an input or control issue, check the active keybind or controller layout before changing weapons. Test the input against a low-risk enemy. If the controls work, return to the encounter, weakness and recovery checks above.
| Encounter condition | Practical first choice | Why this is only a starting point |
|---|---|---|
| You need a forgiving early melee weapon | Bronze Sword or another weapon suited to the target | It is a baseline test, not a universal best weapon |
| The enemy punishes close range | Ranged weapon with the ammunition shown by the current recipe | Ammunition, draw/reload time and retreat space determine the real result |
| The target has a journal weakness or resistance | The damage style that matches the current journal entry | Weakness and resistance values can change with updates |
| You keep running out of stamina | A lower-cost attack pattern or a safer range | Damage per hit matters less if the recovery window causes repeated hits |
After choosing, perform one controlled test: hit a low-risk target, check damage consistency, spend one recovery cycle and retreat. Keep the weapon only when it solves the actual failure point of the route.
Before you commit to the next fight
Identify the target weakness, compare the region with your gear level, preserve stamina and run one low-risk weapon test. Exact damage and stun values are less useful than the result you can reproduce against the encounter in front of you.
Use the armour guide, boss preparation guide and beginner route when you need to prepare beyond weapon choice.