
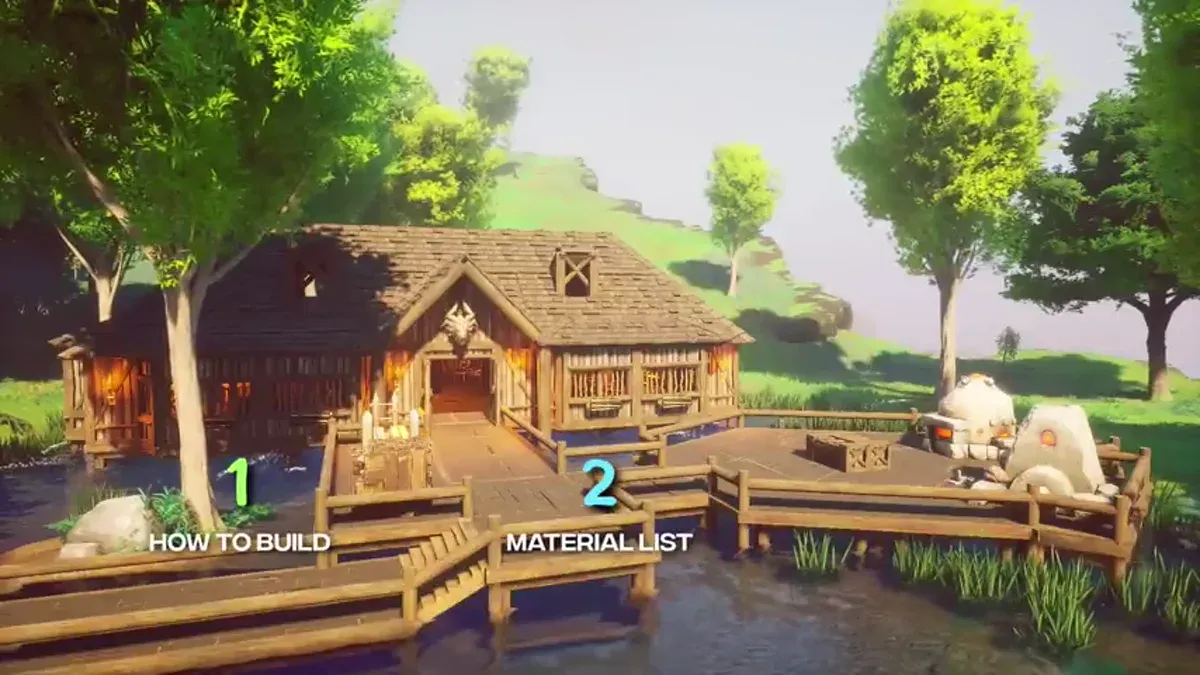

Separate the three jobs of a base
Organise the layout around three jobs: survival, processing and storage. Keep water and food inputs close to the campfire, leave a clear route between resource intake and crafting stations, and reserve one area for expansion. This makes a base easier to use during a resource run and gives a visible signal when the layout is becoming a bottleneck: repeated crossing of the same room or dropped items on the ground.
Plan storage around the Construction progression
The Personal Chest appears in the Build Menu at Construction 0 and costs 16 Oak Logs, 3 Vault Cores and 99 Law Runes in the current reference. Until it appears in your world, use clearly labelled local storage and keep common inputs near their station.
Build one test chest in a reversible section of the base before reorganising the whole settlement around remote storage.
Control performance and maintenance risk
Build in modules instead of covering a large area immediately. Finish one complete loop—storage, processing, crafting and a safe return path—before adding another wing. If performance worsens after a large expansion, remove or relocate the newest module first; this gives a practical rollback path without rebuilding the entire settlement. Repair and upgrade only after the base still supports the next quest or resource route.
Completion check
Your early base is working when you can return from a resource run, unload, process the next batch, recover and leave again without detouring through several storage rooms.
The first base should solve four problems
Build the first shelter in or near Bramblemead Village with a bed, storage and crafting stations. Enclose the bed with walls and a roof, then claim it as your respawn point. Keep the base near water and your next route, and add a Crafting Table, Campfire, Bed and storage before decorative construction. The beginner base route shows a practical layout, while your current journal and Build Menu show the live requirements.
Use a reversible layout: keep stations close to storage, leave a clear path between the bed and processing area, and do not place a final base on the assumption that every region has the same enemy or resource pressure. The base is successful when the player can respawn, refill water/food, process one batch and leave for the next objective without rebuilding the entire route.
Leave the base when this loop works
Your layout is working when water, storage, processing, repair and travel remain convenient. If the base becomes slow or hard to use, check station density, walking paths, storage placement and rendering load before rebuilding everything.
Related tasks
Continue with Stone, wood and building resources, Farming, food, potions and healing, or Beginner guide and first progression steps.
Before committing to a large rebuild, confirm the Build Menu recipe, station access and performance in the area where you will actually play. Fix the specific station, storage, path or rendering bottleneck instead of rebuilding everything.