

Resource route
Turn each gathering run into an upgrade with the metal guide, processing recipes and crafting stations.
Record target item, source, tool, region and return route. Gather a sample, confirm the recipe accepts it, and use the result before committing to a large farm. If a node is absent, check the region boundary and progression state rather than assuming the map is wrong.
Metal nodes you can act on immediately
The current node references provide enough information to choose the first route without guessing the tool tier:
| Resource | Listed regions | Minimum tool | Respawn note |
|---|---|---|---|
| Copper Ore | Fractured Plains, Stormtouched Highlands, Dowdun Reach | Bone pickaxe or better | Three in-game days; stay at least 100 metres away and do not build directly on the node |
| Tin Ore | Fractured Plains, Stormtouched Highlands | Bone pickaxe or better | Three in-game days under the same distance/build condition |
| Iron Ore | Stormtouched Highlands, Chaktan Kara, Fellhollow | Bronze pickaxe or better | Three in-game days under the same distance/build condition |
Use the table only to start the run. Gather a small sample, return to the intended station and verify the output before filling the inventory. If you are below the required pickaxe tier, the correct next step is a tool upgrade—not a longer search for a node that cannot be mined.
Turn a location into a repeatable resource route
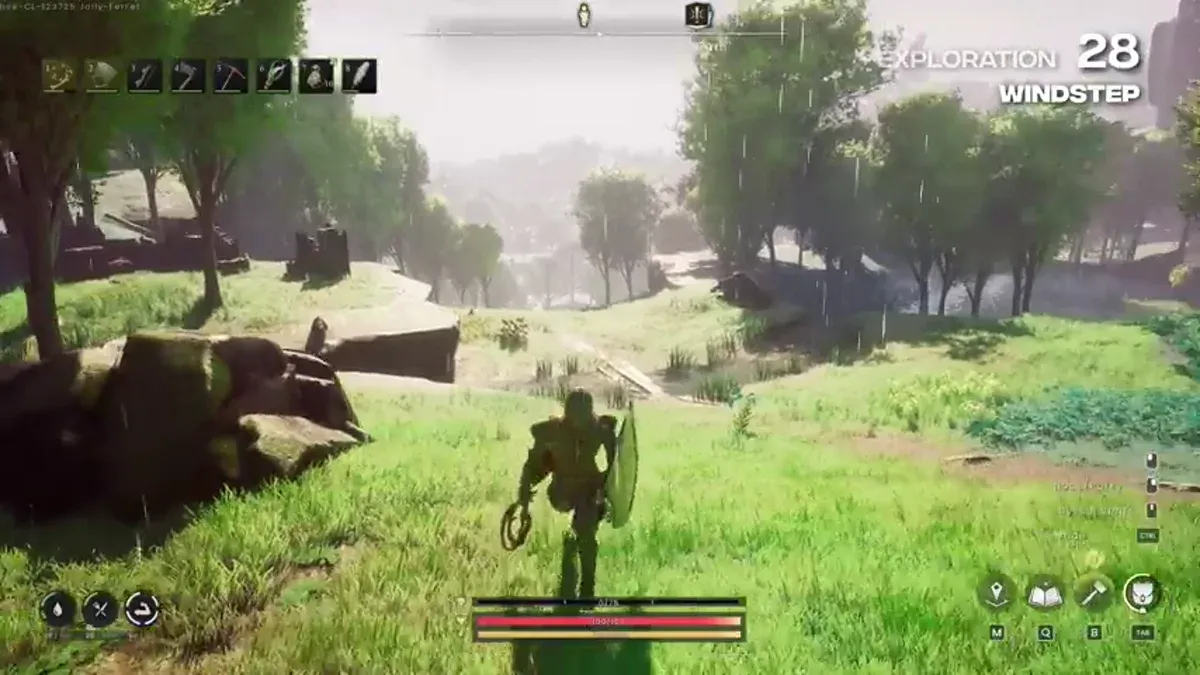
Mined resources feed into armour, weapons, building and Runecrafting. Record the region, one approach landmark, tool tier, carrying space, expected resource form and nearest processing point. Run the route once with a small target, process a sample, and keep the route when it produces the item or bar needed by the next recipe.
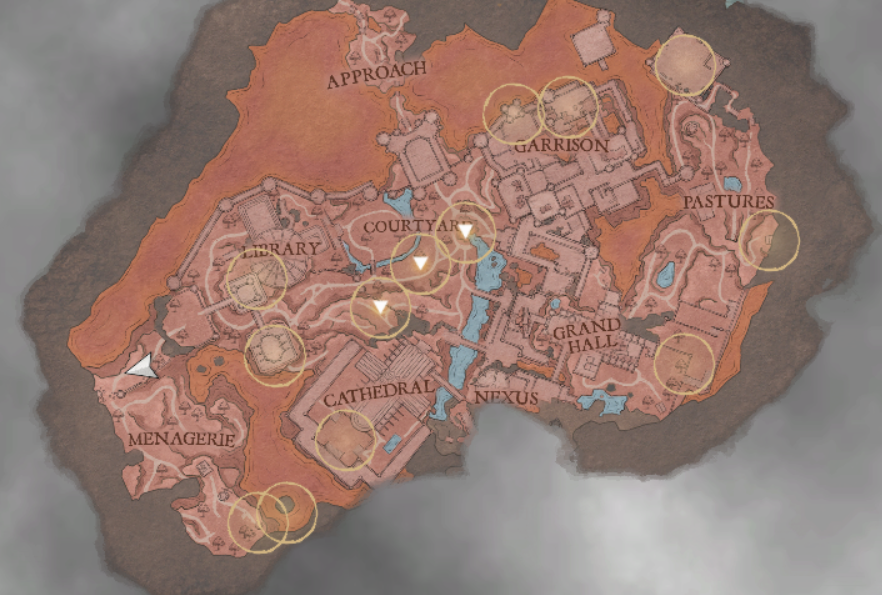
If a node is empty or the output is different, check the world state and recipe before searching a second region. A landmark and route purpose help another player repeat the trip; a bare coordinate does not.
Quick region lookup
| Region | High-value materials and sources | Bring first |
|---|---|---|
| Bramblemead Valley | Oak Logs, Potatoes, Redberries, Rune Essence, farm animals | Axe, food and early storage space |
| Whispering Swamp | Clay, Harralander, Marrentil, Coarse Animal Fur | Water, food and a return marker |
| Fractured Plains | Copper Ore, Tin Ore, Sandstone, Flax, Anima-Infused Bark | Bone Pickaxe, axe and combat food |
| Stormtouched Highlands | Iron Ore, Granite, Ram Horns, Fleece, Flax | Bronze Pickaxe, combat loadout and weight space |
| Bloodblight Swamp | Gold Ore, Silver Ore, Sapphire, Snapdragon, Bloodwood Sap | Region-appropriate gear and recovery point |
| Dragonkin Vaults | Vault Core and Vault Shard | Combat preparation and free inventory space |
Use this local region table with the resource and station tables in the linked articles; the common material lookups are now available directly on this site.
Before travelling, identify the recipe or quest that consumes the resource, mark the source region, bring the matching pickaxe, axe or combat loadout, and place a Lodestone when the trip becomes routine. Do not farm a node until you know what the material unlocks next.
Start with the resource you actually need
| What you need next | First region to check | What to bring or confirm | What the sample should unlock |
|---|---|---|---|
| Copper Ore or Tin Ore | Fractured Plains | Bone pickaxe or better; leave room for both ore types | Bronze bars and early metal tools |
| Iron Ore | Stormtouched Highlands, Chaktan Kara or Fellhollow | Bronze pickaxe or better; check the region power before crossing the route | Iron bars, tools and early armour |
| Granite | Stormtouched Highlands | A route-safe combat loadout and enough return weight | Building and station materials |
| Clay, Harralander or Marrentill | Whispering Swamp | Water, food and a return marker; confirm the gathering spot in the current world | Vessels, potions or processing inputs |
| Gold Ore, Silver Ore or Sapphire | Bloodblight Swamp | Region-appropriate gear and a recovery point | Higher-tier equipment or jewellery inputs |
Reverse lookup: resource to route
| Resource | Start here | Required check | First useful output |
|---|---|---|---|
| Clay | Whispering Swamp clay deposits/nodes | Water, food and a return marker | Clay vessels and construction inputs |
| Opal | Copper Ore nodes, Tin Ore nodes or Stone Boulders | Mining 16 Gem Prospector; appropriate pickaxe or Rocksplosion | Jewellery, ranged equipment and decorative building pieces |
| Sapphire | Gold Ore nodes in the mining route | Mining 16 Gem Prospector; appropriate pickaxe or Rocksplosion | Jewellery, enchanted equipment and decorative building pieces |
| Bloodwood Sap | Bloodwood Tree | Combat-ready route and enough weight space | Challenge Horn with Dragon Tooth and Bronze Bars |
| Dragon Tooth | Stormtouched Highlands dragon skull or lesser dragon encounters | Iron Pickaxe for the skull route; leave the node area clear for respawn | Challenge Horn, Ground Dragon Tooth and dragon-related crafting |
| Rune Essence | Rune Essence rocks or geysers in the relevant route | Mining tool and a clear return route | Runecrafting inputs and Ground Rune Essence processing |
This is the reverse lookup to use when the target item is already known: start from the resource row, prepare the listed gate, collect one sample, and only then scale the trip.
This table is a route selector, not a promise that every node is visible at every world state. Gather one sample, process it at the intended station and confirm the recipe accepts the result. If the sample is missing, check the journal, node distance and build restriction before searching a second region.
The gathering run is complete when
The route is reliable when you can repeat it with the right tool, weight plan, processing point and recovery landmark. If a node or output changes, replace stale coordinates with a landmark and route description.